OUR SOLUTIONS

CSyS

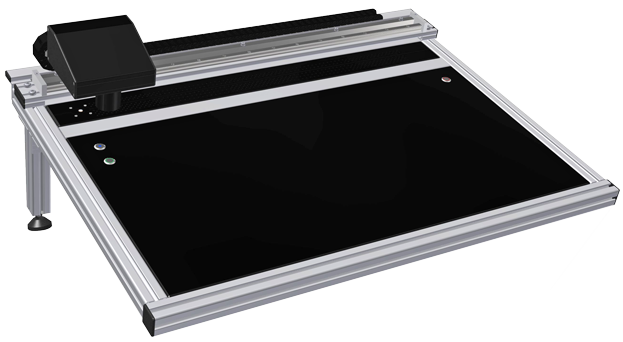
CSyS implements the most important machine room quality assurance functions within a closed loop system. The automated spectrophotometer coloring-, density measurement, pre-inking and press control systems relieve the machine operator of the burden of having to adjust the zone and color. The CSyS system provides immediate and full set-up and stable control and correction during the whole printing process.

For printing houses, printing to ISO12647 standards and compliance with PSO for hand-held measurement has many difficulties Most recent printing standards and recommendations already require that control strips be measured automatically, thus eliminating the possibility manual measurement errors and the human factor. The CSyS system is capable of automatically taking measurements at full sheet width, analysing these measurements and feeding the necessary corrections back to the printing press. The system provides data to evaluate and report the measured values, settings and corrections afterwards. The measured values are always saved, and the optional ISO report function of the system records the compliance with ISO, PSO and other standards. The CSyS ColorLAB module helps You adjust the CTP tone value increase compensation, and provides measurement and evaluation capabilities that are crucial to color and print characteristics (printing ink transfer, ideal density, tone value increase etc.). Most measurement and correction functions in the CSyS system are automated, so efficiency of machine setup and print pressing can be maximized

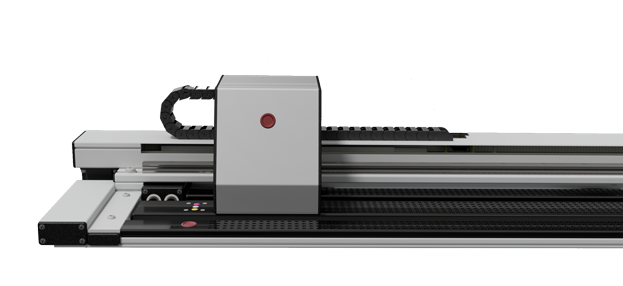
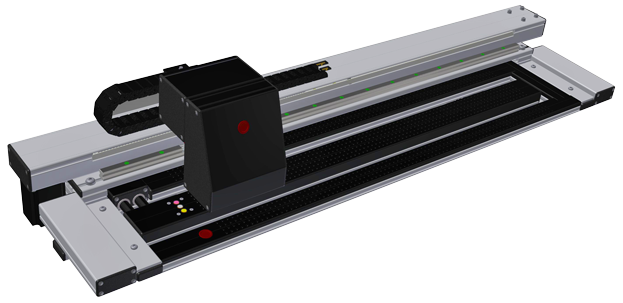
CamControl is a camera-equipped print monitoring system capable of performing quality control tasks in offset, flexo and digital label printing. The system can be built from a fixed, “general” monitoring unit responsible for regular (approx. every second) display at full print size and can be equipped with a moving head with a high resolution camera, a microscopic camera and a spectrophotometer unit capable for localized, accurate control of prints. The required light for the cameras are provided by LED flashes with built-in diffuse top-down and transmissive scanning unit, each of them independently controlled

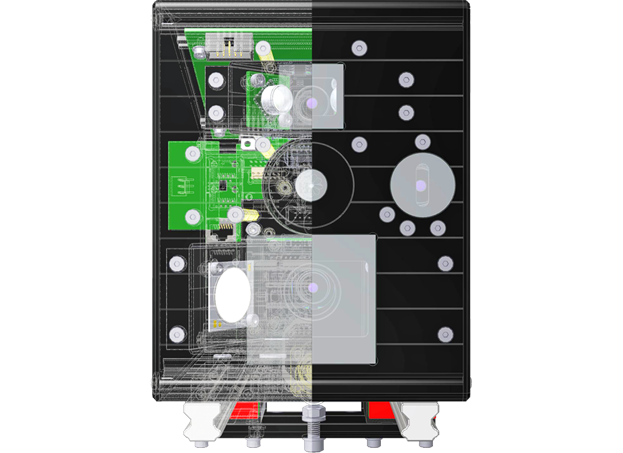
Due to the small depth of field resulting from the magnification of the head unit, the built-in mechanics ensure accurate distance to the media The cameras in the moving head have LED flashes similar to the fixed unit, but they have shorter flash times and higher illumination for the most accurate picture detail. The head units are moved by a stepper motor with a toothed belt drive. The system also includes an independently moving so-called rear head unit, which can provide diffuse flashing LED illumination for the cameras in the head on suitable prints. In addition, it provides the color measurement unit with a diffuse flat area illuminated by color-coded LEDs sotransmissive spectral color measurements can also be performed with the head unit.

The system performs full print scans and checks. This provides real-time information about changes in the print, such as color, content deviations from the reference, as well as the appearance of dirt and printing errors. The related software evaluates, displays and notifies the machine operator should any change in printing occur. Once the task is done, the entire printing process can be replayed and a report generated.

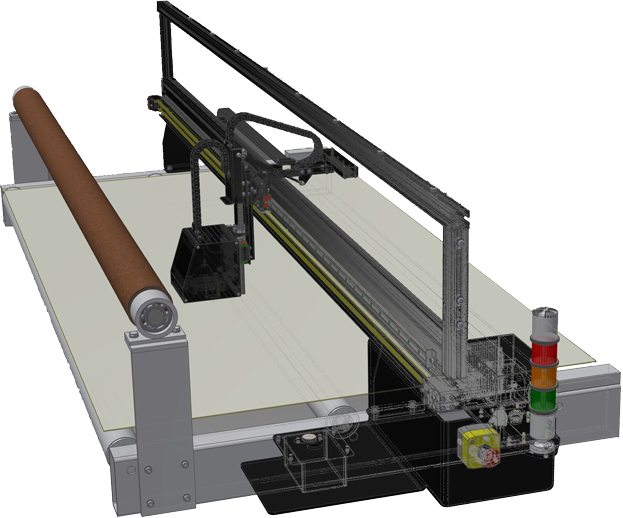
The InlineCAM can be installed on any web printing press, including offset, flexo and digital production lines. The system consists of two measurement heads moving in different paths, and can automatically move perpendicular to the direction of the print media. It can move in a slightly larger area than the print width so that the gauge unit covers the entire print surface. The device has a built-in CMOS sensor that captures high-resolution images of the print as it transits through the machine. Conversion and evaluation is done by the software. This allows accurate processing of print characteristics (eg. density, tonal value increase (TVI), grey balance etc.). The necessary illumination is provided by the LED flashes.

In Passer Measurement and Adjustment Mode, the image sensor integrated into the probe detects (‘takes a picture of’) the passer signals, and the adjustments of the passer is done according to these measurements at the e-link interface at the control desk of the printing press. The e-link is basically a special computer that is indirectly connected to the printing press through its console, and this way necessary data (register, ink key pre-programming) can be uploaded and read via the e-link interface. In Dye Setting (mackle) and Passer Check mode the head moves so it can measure the tone, raster and special fields in the test strip. Dying correction is done via the e-link interface. The amount of the mackle can thus be minimized and further reduced with the calibrated pre-dye system. Passer signal check and necessary adjustments provided by the image sensor are made at the same time.

In Production Sheet Check Mode, the probe measures all measuring fields in the test strip, checking the color alignments of the print and making corrections via the e-link interface if necessary. Measurements of the raster fields allow the gradation to be set at platen creation. The instrument also collects data for more accurate pre-dyeing. The instrument unit can measure any point of the print if necessary. Passer check continues and the full print can be checked via the image sensor at full resolution in approx. 30-60 seconds for possible errors (bugs etc.)

OUR PARTNERS
Media

First slide

CONTACT

Color Control Systems Kft.
1108 Budapest, Kozma utca 7.
+36 20 661 9180
info@colorcontrol.systems
colorcontrol.systems
Color Control Systems Kft. | 1108 Budapest, Kozma utca 7. | +36 20 661 9180 | info@colorcontrol.systems | colorcontrol.systems